
Creating Your First Shopify Shop
An eCommerce shop might sound like its a big deal to setup, but I’m going to show you how to set up your own Shopify shop soup to nuts within…
An eCommerce shop might sound like its a big deal to setup, but I’m going to show you how to set up your own Shopify shop soup to nuts within an hour.
Why use Shopify?
Shopify is an online shop builder created over 15 years ago that’s sole purpose is to make it easier to not only create a shop, but manage it as well. One of the best features of Shopify is the ability to distribute your products across platforms like Facebook, Instagram, Pinterest, TikTok, Amazon, and Google just to name a few. Your Shopify shop will provide single source of truth for all of your products, so that product changes, additions, and deletions get published to those stores across the internet at once.
Now that we got that out of the way, lets begin…
Don’t have a warehouse?
Don’t worry, the majority of online stores nowadays are drop-shipping stores. This means that a warehouse takes a cut to ship directly from them, so really all you do is design your products and they do all of the heavy lifting as far as the after-sale activity. So just sit back and collect. When you first sign into your shop, Shopify will have a list of partners you can choose from to help you get started.
How to setup your shop
1. Creating your store
First, head over to shopify with this link right here: Create a Store. Fill out all the fields with your personal information, store details, etc. Don’t worry if you think you forgot something, you can setup everything in the dashboard after you are done signing up.
2. Pick a Theme
The default theme will most likely fit your needs, but maybe you want to jazz it up a bit or even choose a different theme completely. Here’s how to check out what you’ve got so far.
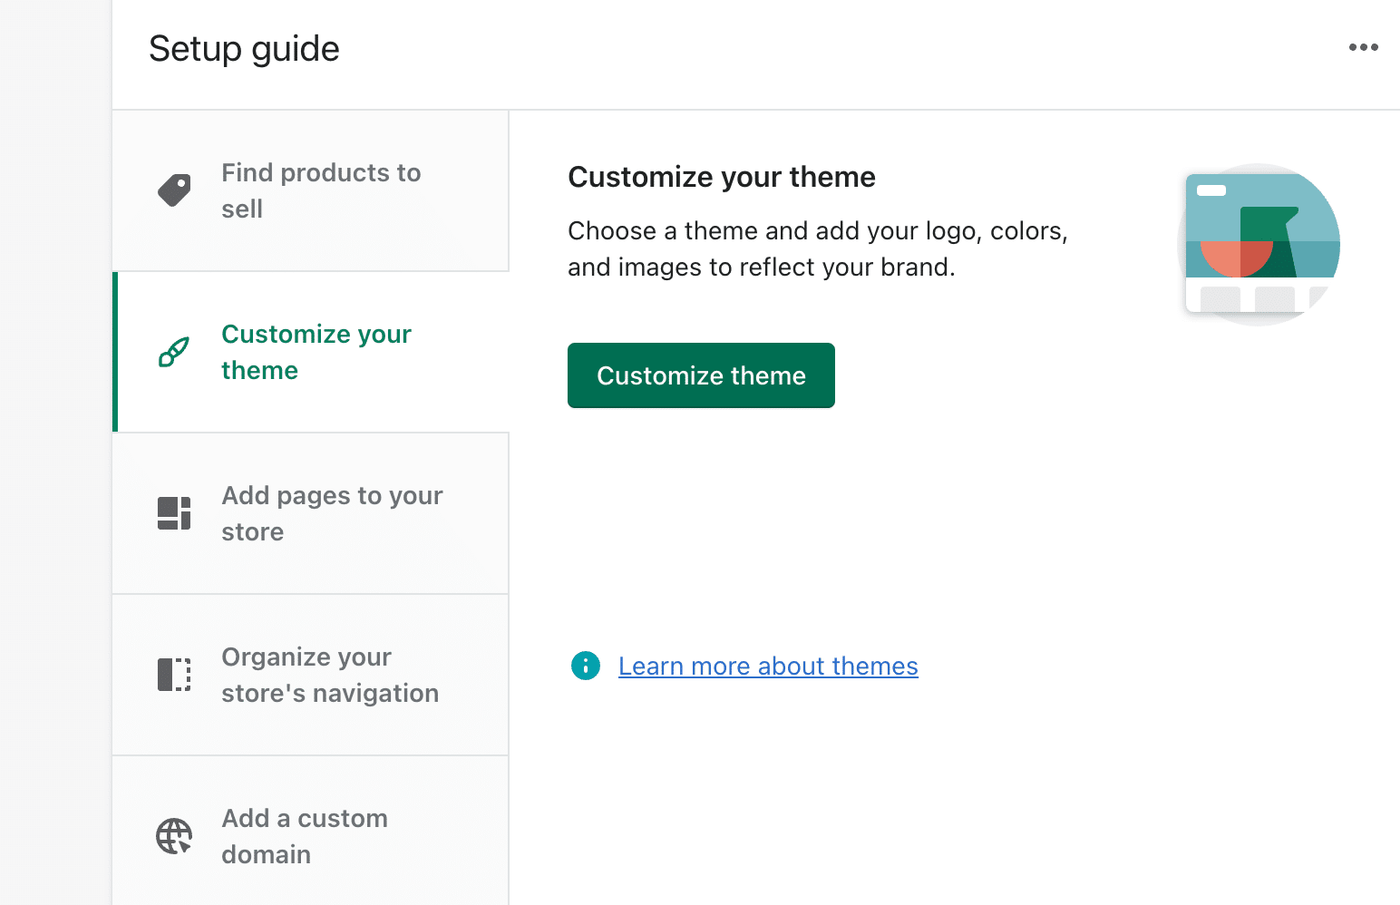
On the dashboard, select Customize Theme in the setup guide
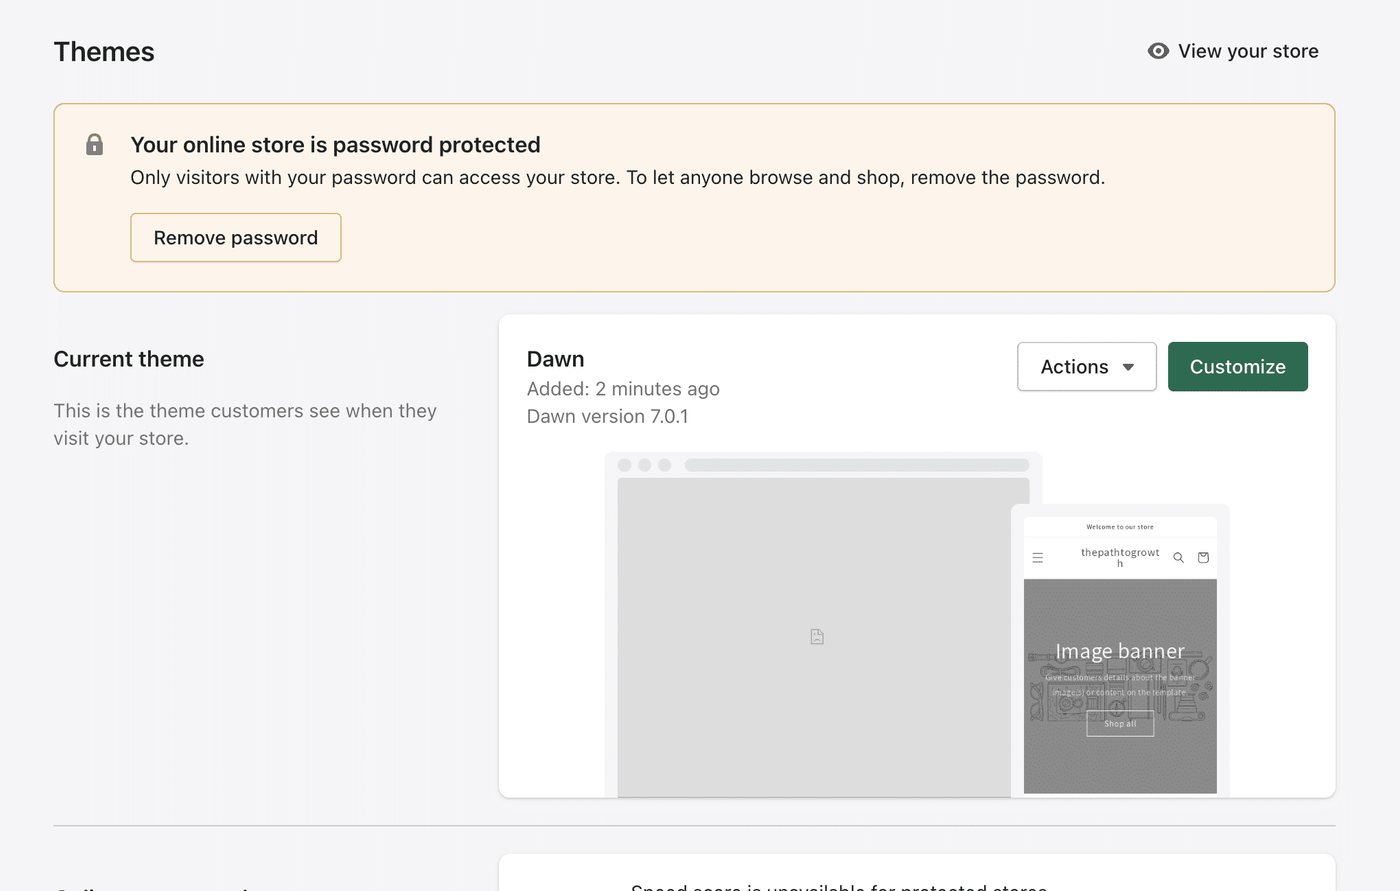
Once you get to the Themes screen, you will see your current active theme, which is Dawn. You can change this at any time while building so that you can see the different themes and how they will look with your products in them.
In order to customize the active theme, just click on that nice big green Customize button on the right side there.
You will probably spend the majority of the hour on this screen because you want your store to look pretty, right? I will dive into it briefly, once you see how one of the items changes, you will be able to change anything.
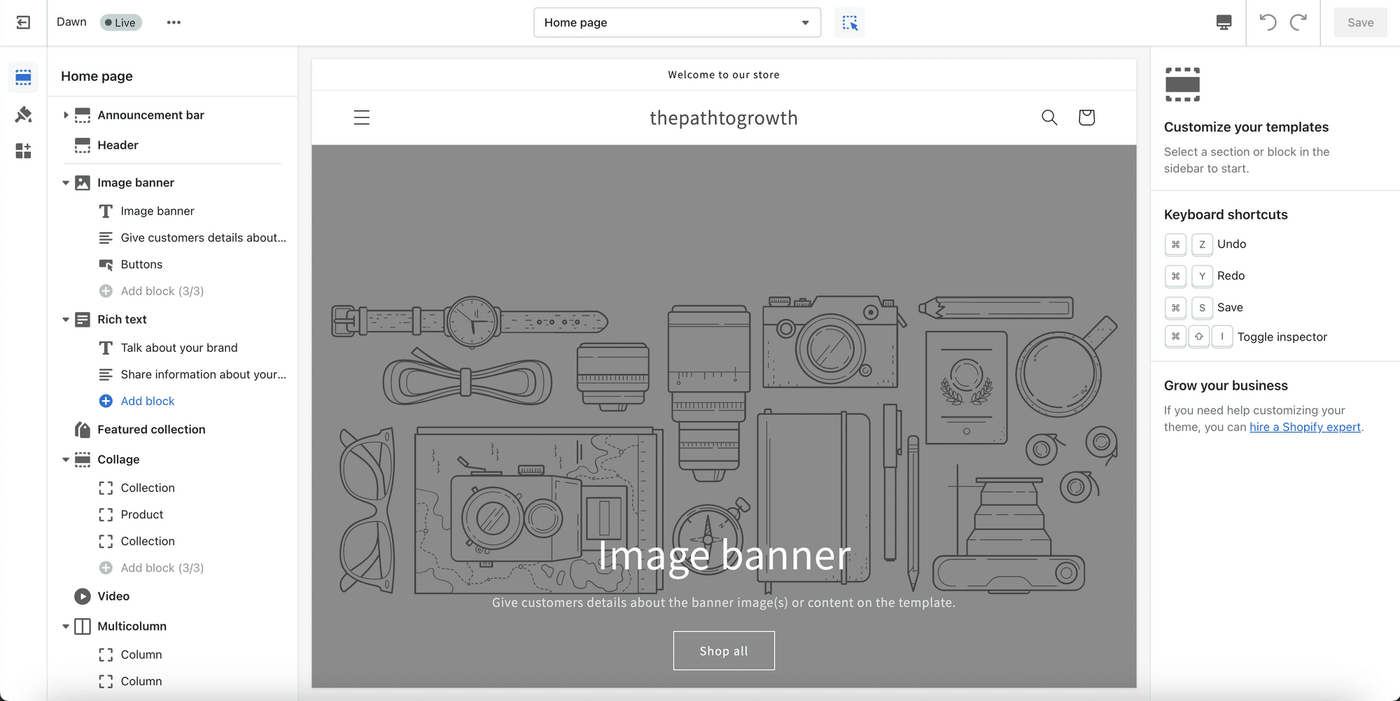
Let begin with that top banner. You probably want to show visitors something exciting like your product, so go ahead and click on the image banner background. You will notice that the left side is highlighted for you, and so is the actual section that you clicked on in the middle of the screen. This will work for any element on the screen, so click away and see how things work! When you are ready to swap out that placeholder image with something else, click on Select Image as indicated in the screenshot below.
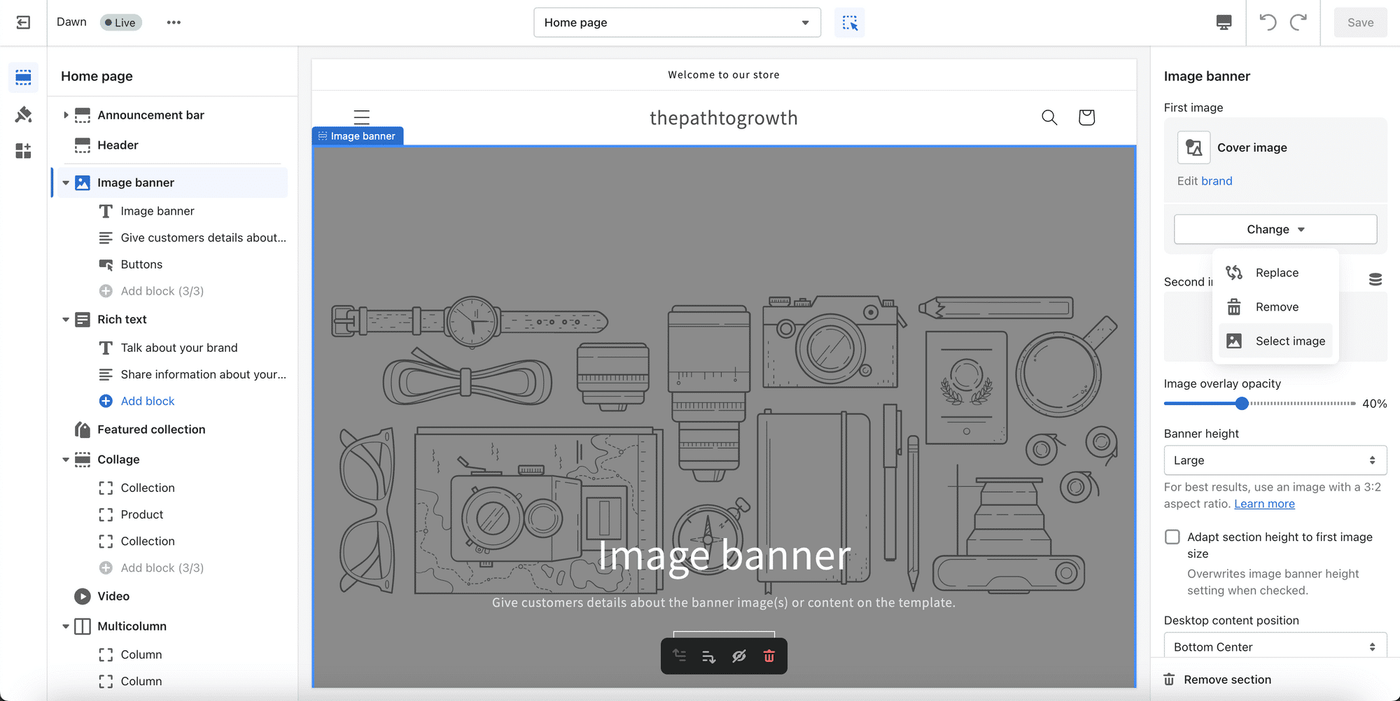
As you can see, you can either select your own images, or use some of the free images that Shopify provides.
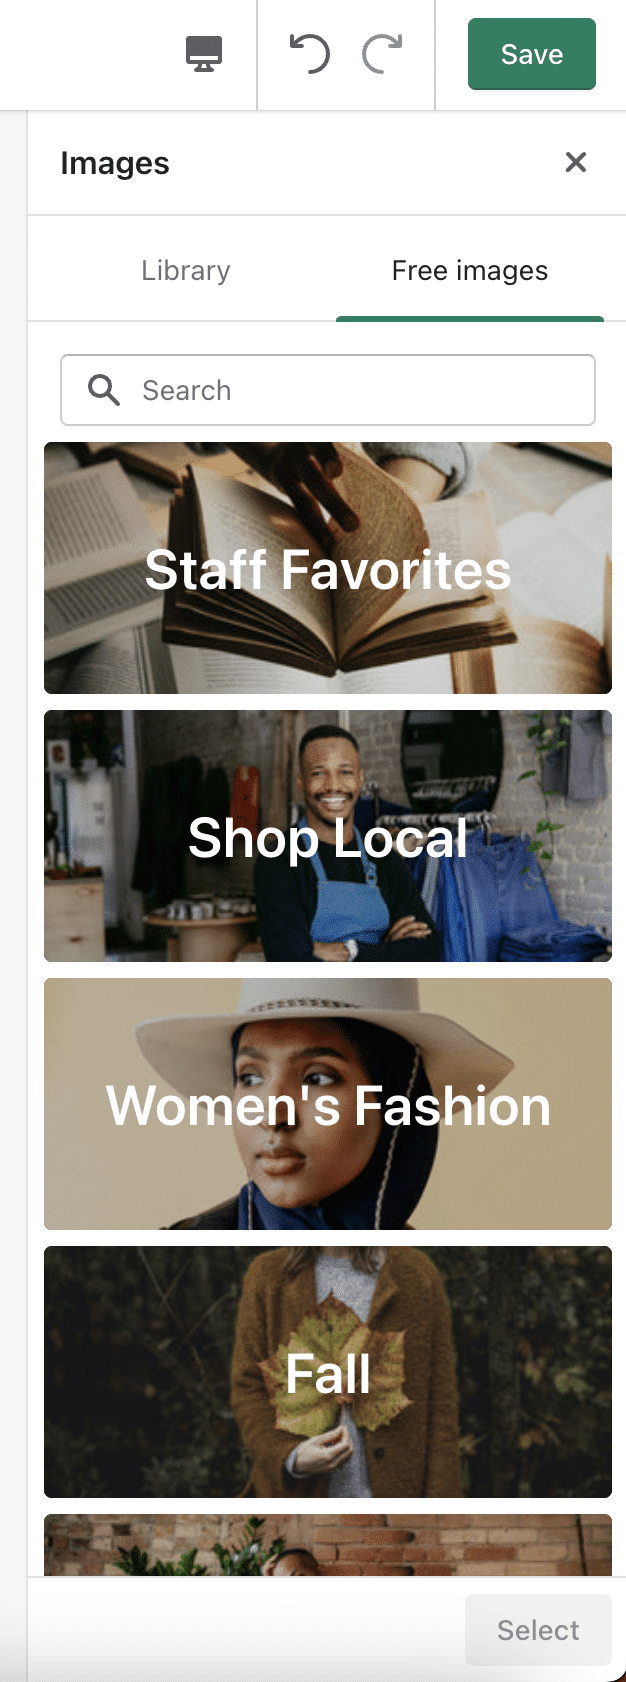
This is just one of the many elements that you can customize.
3. Add a Product
Finally, the fun stuff. Adding your first product. On the dashboard, head over to the products section and click the shiny green “Add Product” button on the upper right.
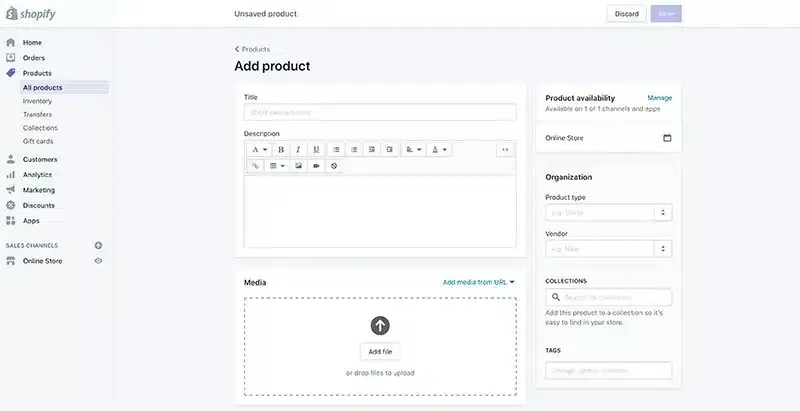
On this page you will setup:
Title: The main title of this product
Description: Give as much detail as possible as this section will help your SEO shine. You can also add HTML elements as well using the WYSIWYG editor.
Product Availability: This is where you choose what channels you’d like your products available on.
Title: The main title of this product
Media: Add a few images of your product
Collections: You can add this to a collection manually or automated later on
4. Configure your Policies
Let’s head over to the dashboard to setup your policies. This is very important and might as well get it over with now. You can’t actually sell anything unless your policies are in place, because well, how are your customers going to know how to return things or when their items will ship.
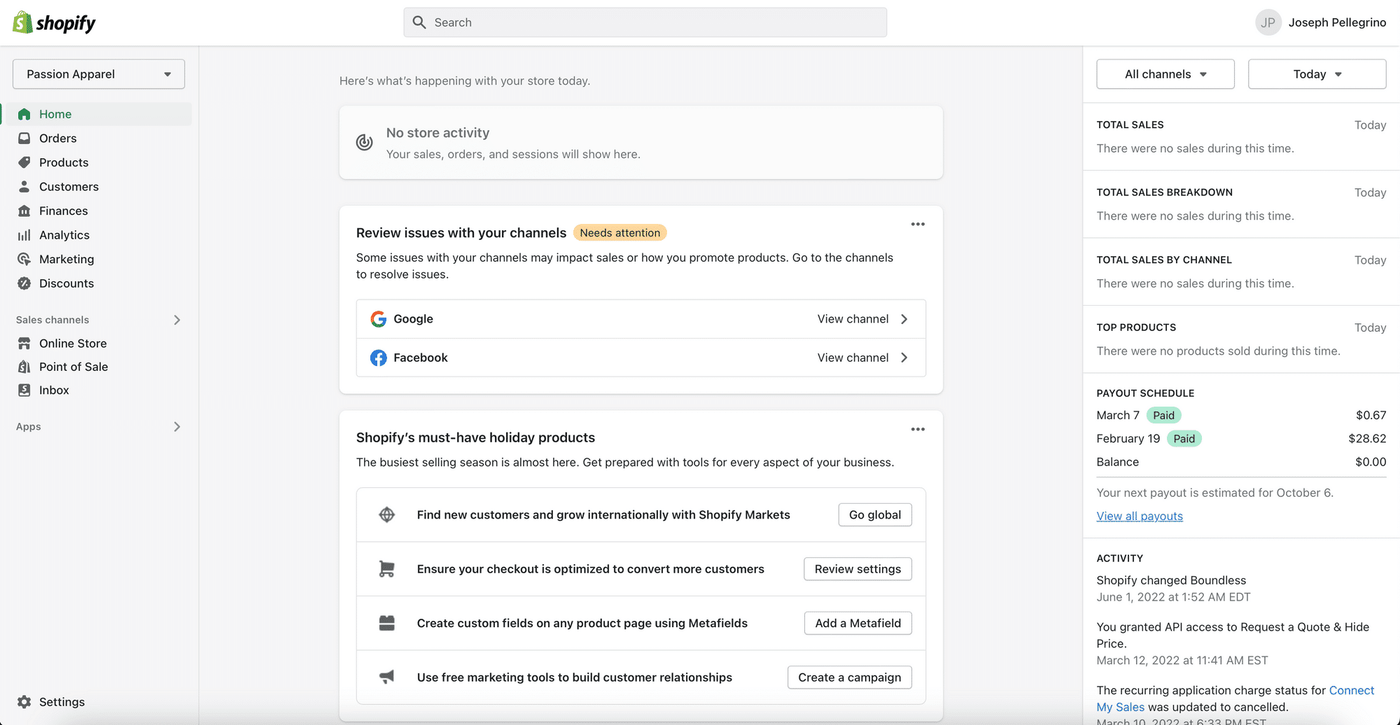
This dashboard will keep you updated on all important information, such as if you have any outstanding orders, etc. On the left we will focus on a few things here to get you started.
Click on the Settings link

Then on this screen proceed to select Policies
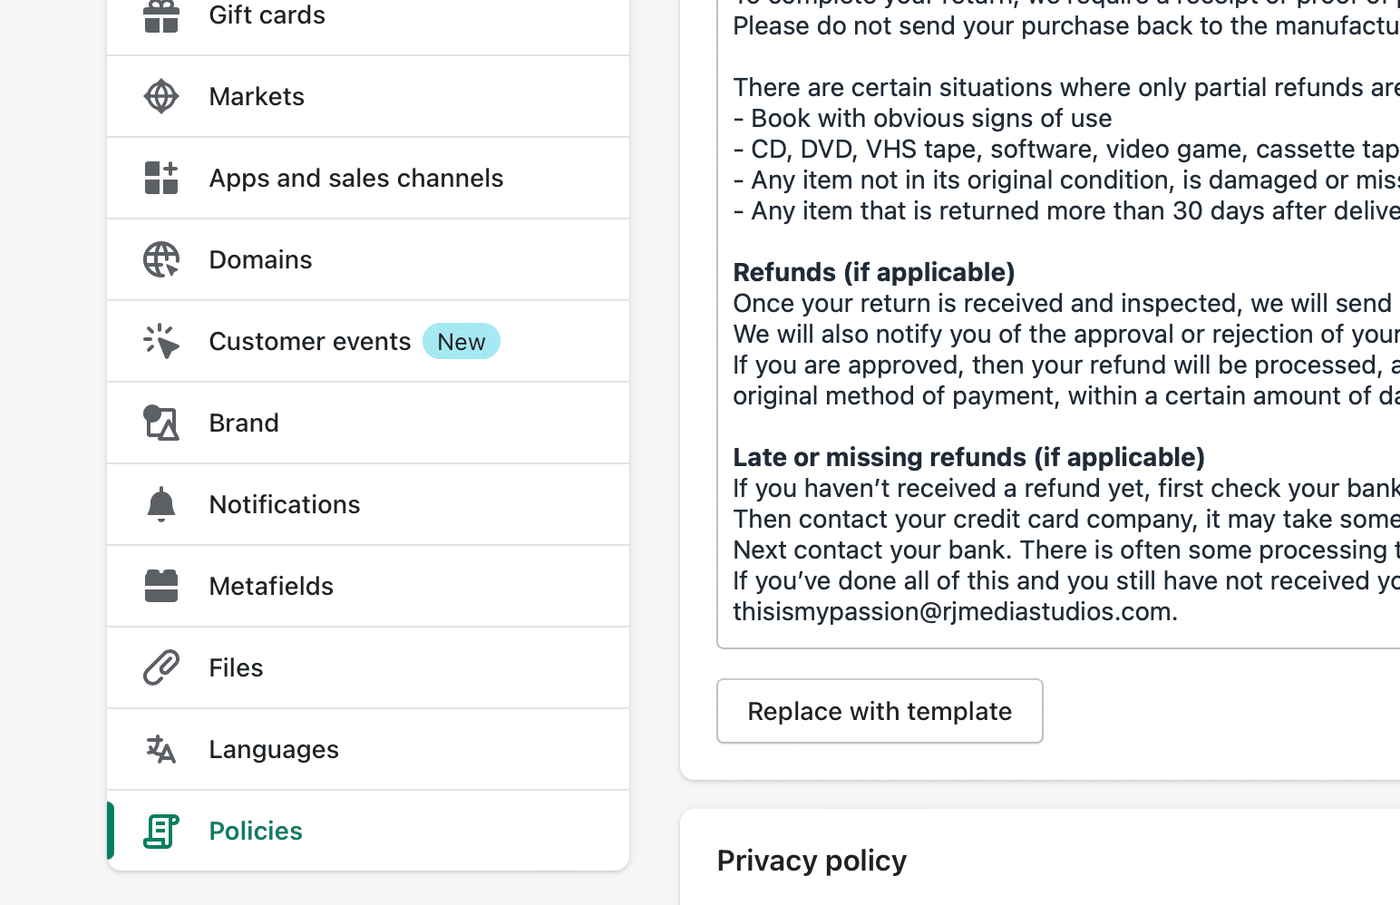
You will notice that for each policy, Shopify has been kind enough to provide templates (didn’t I tell you this was easy?). Use them if you wish, or write up your own policies. Once you are done with your policies, proceed to hit the Save button on the bottom.
When you are done setting up your policies, just hit the big green save button to save your changes.